How to Create Perfect Custom Packaging
Creating the perfect custom box can be a daunting task but no need to worry. Our team here at BuyBoxes.com has developed this guide to help you along the process of building the perfect custom packaging. By the end of this guide, you can expect to have a grasp on packaging, and if you stick with us and join our community you may even become a box fellow box nerd! Whether you need a custom mailer box, custom shipper box, or even a crazy cardboard city, it all starts with understanding the material and process, so let us dive in!
Choose Your Style
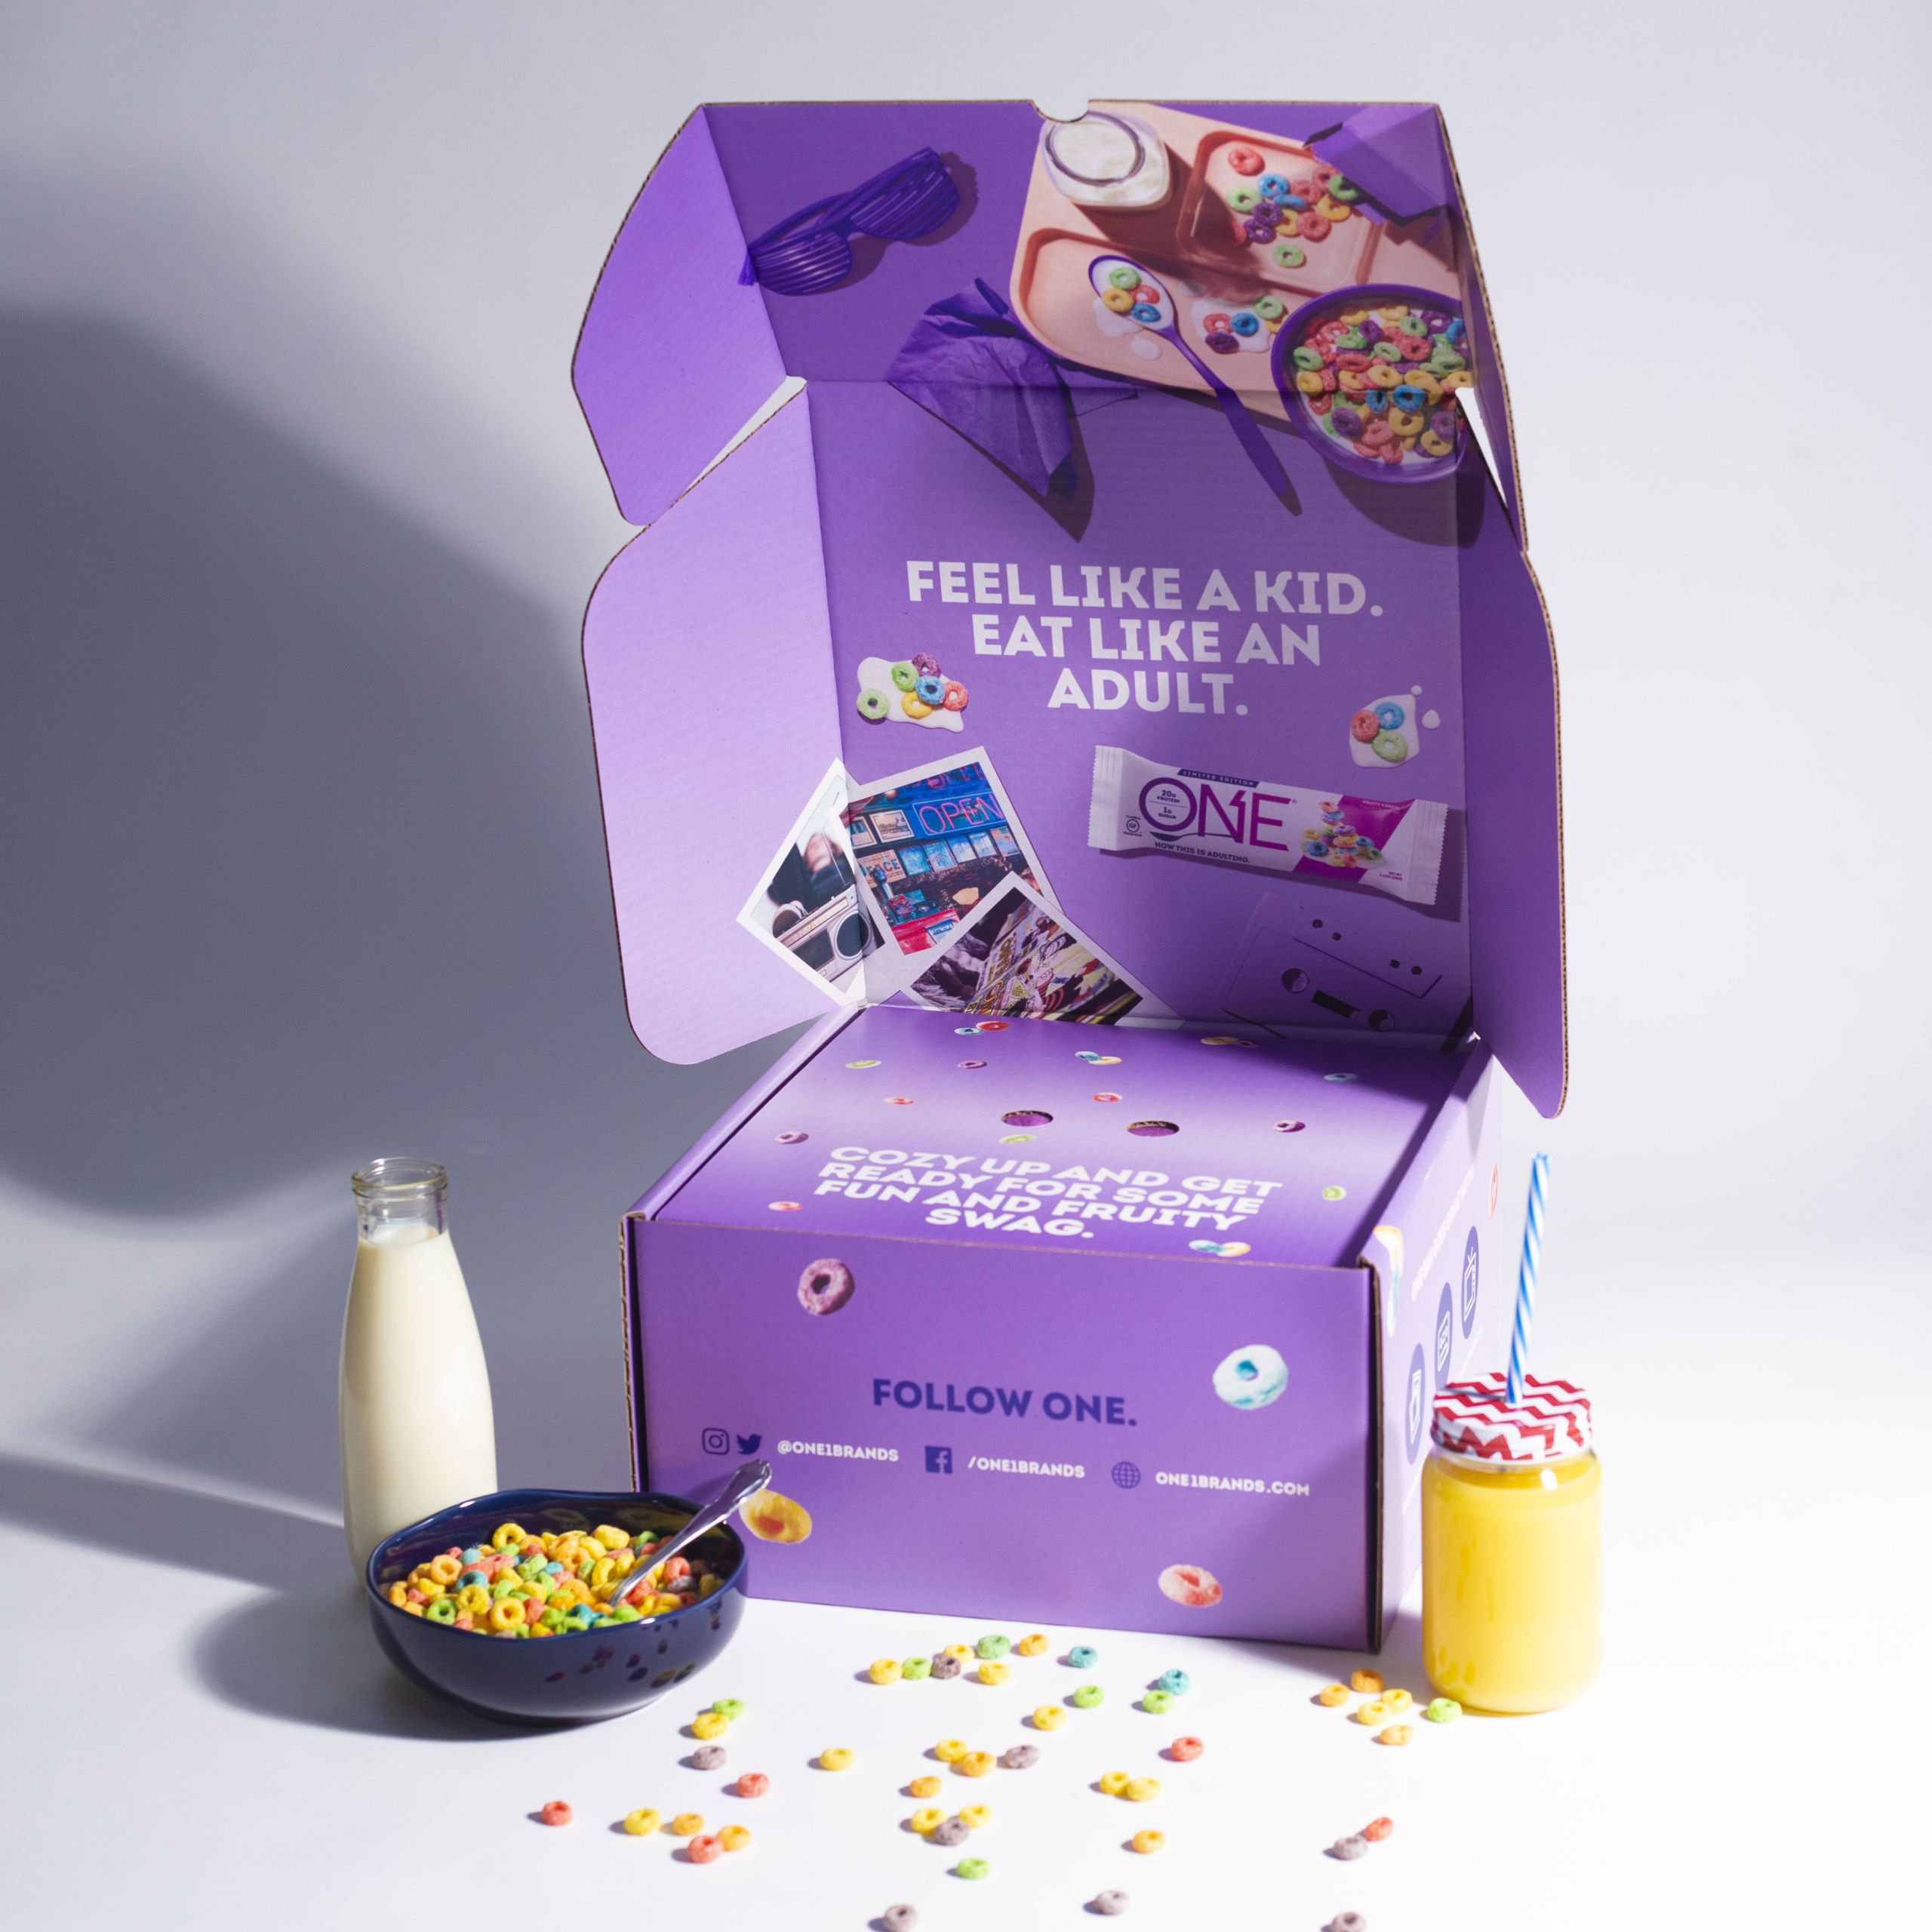
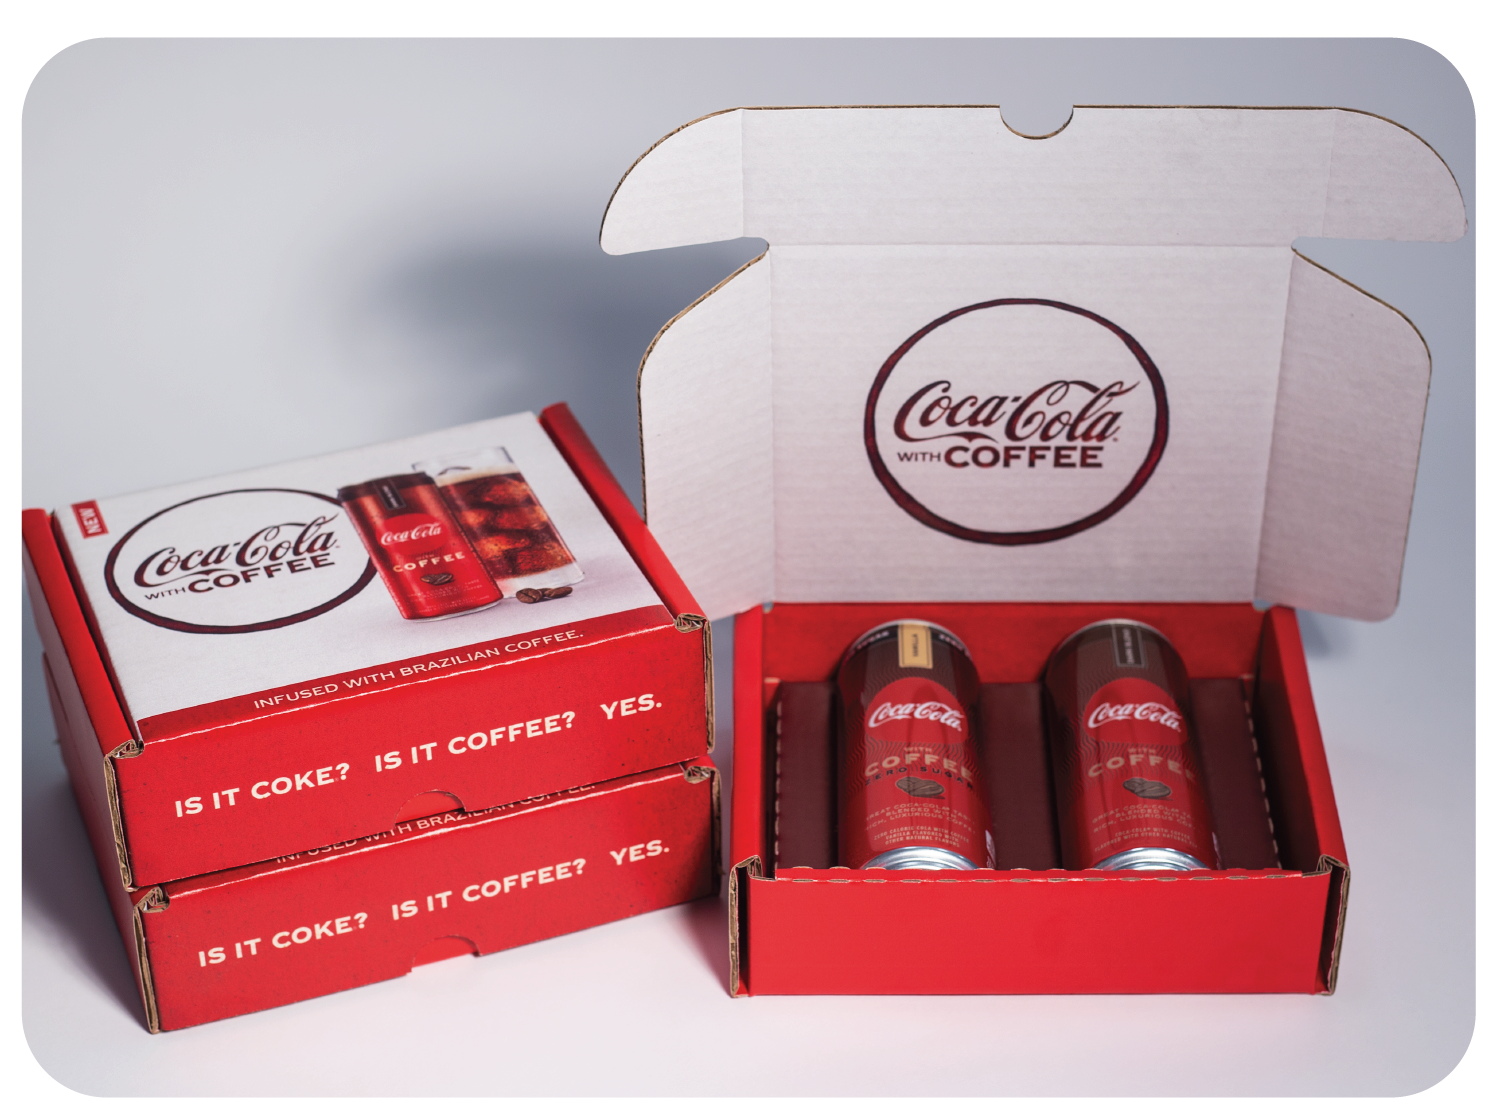
It all starts with the packaging style. We have a team of packaging and structural engineers to bring custom packaging concepts to life, however, as apart of the BuyBoxes.com Studio there are over six custom packaging styles to design using our cutting-edge online editor. Deciding on the custom packaging style is going to depend on what you are using it for. Is this a subscription box? E-Commerce Packaging? Gift box? Well, a custom printed mailer box OR an unprinted mailer box paired with a custom printed sticker sounds like a great option! Typically, these boxes are made from corrugated cardboard material. Either Kraft, Mottled White, Kemi, or a combination of each other. They’re durable which makes them great for shipping. They have plenty of “print real estate”, by allowing for effective double side print, which allows you to fully express your brand and interact with your customer. Custom mailer boxes act as a part of your sales force by helping capture your customer or prospects attention and leaving them with a memorable experience.

Custom Packaging that Builds your Brand
I’m sure we’ve all heard of the unboxing experience by now! Whether it’s a famous YouTuber opening your favorite new piece of tech, your little cousin opening a gift shipped right from Disney World, or a gift from that virtual race you ran, the unboxing experience is becoming more and more a part of what we’ve come to expect. In fact, studies show 70% of consumers form impressions of brands based on their packaging. While 52% of consumers say they’ll happily spend extra money if they like the packaging and 55% of online shoppers said they would be repeat customers if their order came in customized packaging. Although this seems like a bold statement, I’m sure we can all relate to being in a store around the holidays deciding between a gift for your boss, father, or aunt. Do I go with the $30.00 bottle of scotch, or spend an extra $20.00 because the $50.00 bottle comes with a beautiful custom box that will serve two purposes? The first being that it makes your gift look like you ordered it directly from Scotland and the second reason is that it saves you from needing to break out the wrapping paper! We like to call that a win-win situation!


Next Up: What Material Fits your Project?
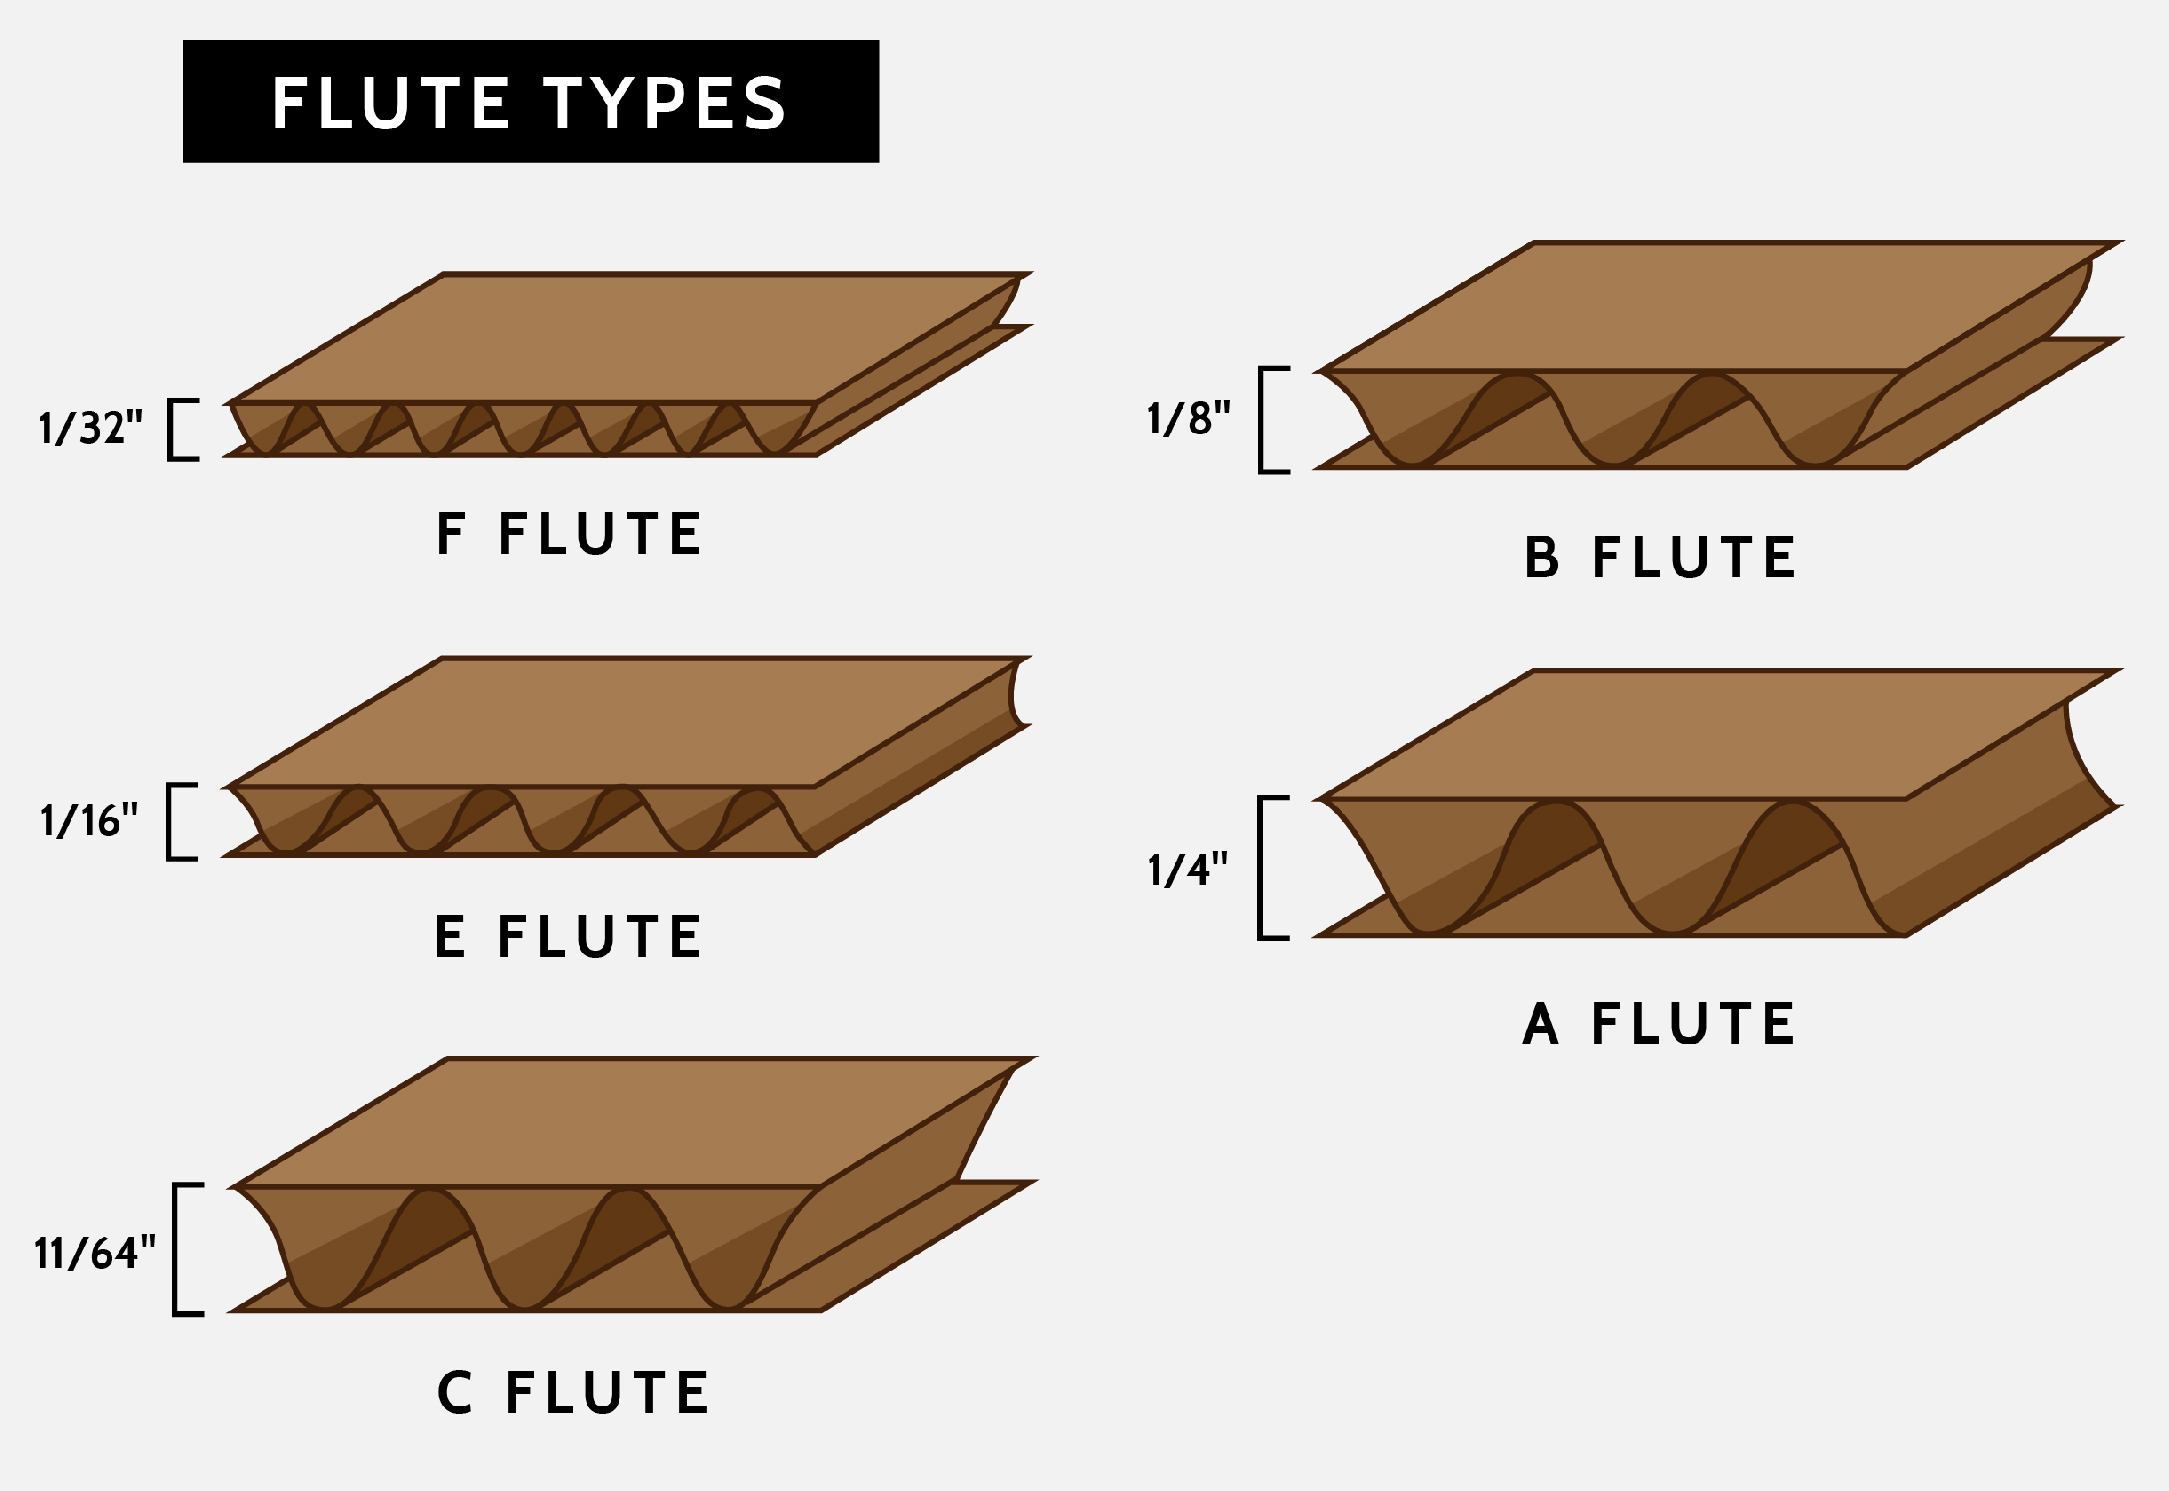
Now that we’ve discussed product styles let’s brush up on the different material options and when it’s best to use each. Although there are many materials finishes and thicknesses the most common finishes are Kraft (brown), Mottled White (standard white), and Kemi (premium white). The most common corrugated and paperboard thicknesses range from 200E, 200B, 200C, and 24PT SBS. There are a few factors that go into deciding the optimal finish and thickness from your custom box.
First, we need to determine how large the box needs to be. You can achieve this multiple ways but the easiest is laying the products you plan to ship on a table in front of you how you would like them to look inside the box and simply take a tape measure and measure the total space needed. Remember you’ll need to measure the length (left to right), the width (front to back) and the depth (bottom to top). We usually suggest adding between a 1/4 inch to a 1/2 inch to the size you measure to create a properly sized box. If you’d like to add a custom box insert to hold the products in place during transit our team can help engineer and test out different ideas or include a few pieces of tissue paper. The most important thing to remember while determining the size of your custom box is that you don’t want a box to big. When a box is too large it greatly impacts your shipping costs and you run the risk of your product becoming damaged in transit which is exactly what you’re trying to avoid by looking into custom packaging as this negatively impacts your bottom line and the image your customer now has of your product/service. If you have any issues with this process, no worries, our team will happily help determine the ideal size box if you send us a sample of the product. The BuyBoxes.com engineering group also offers free packaging audits to help ensure your current packaging line is optimal in cost savings and product protection.
Graphics that POP!
Once the product style, material, and size have been determined the fun begins! It’s time to unleash your creativity and fill up the box with graphics! Our online editor allows you to completely customize your box by uploading your company logo and any other art assets you would like to include. Because these boxes are digitally printed, you’re not charged nor restricted to a certain number of colors as you would when using a traditional manufacturing method such as flexo printing. During the graphic design phase, it’s important to recognize the difference between Raster and Vector artwork so you’re able to get the best-looking prints.
Raster images are made up of pixels, tiny squares arranged in a grid pattern that each have a set color assigned to them. Up close they look like little squares, but together they can create a complete detailed image. The important thing to remember is that a small image such as a 100px-by-100px image cannot be made into a larger image without looking blocky and pixelated. So always use the largest photo you can when printing! Digital photographs like ones taken with a smart phone will be in a raster image file type. Common raster image file types include JPG, TIFF, GIF, PNG. When looking to print raster images it is important to have as high of a resolution file as possible. 300 DPI (dots per inch) is recommended.


In comparison to raster images, vector images are actually made up of points and mathematical calculations which allow you to scale your image endlessly without losing sharpness. This makes vector images ideal for company logos, graphics, and texts. So whenever possible use vector files like SVGs when dealing with graphics and logos.
Make Shipping a Breeze
Now that understand how to choose the perfect product style, get our custom box sized right and looking great, let’s talk shipping. Shipping is everyone’s favorite topic! It gets our team out of bed in the morning. Just kidding, like you, shipping seems quite overwhelming at times. We’ve done the heavy lifting by researching the ins and outs of the shipping world and distilling it down to a quick check list to help you keep costs down. The bottom line is ship as little air as possible with as little material as possible while providing the most protection possible. This equation is what keeps our team up at night with the intention of keeping this problem off you and your teams’ plate. Let us help figure out these difficult packaging decisions so you can focus on what you love most, building your business.
We appreciate you sticking with us through this article to learn how to choose your custom box style, how to size the box properly, make it look like a million bucks, keep shipping costs down, and hope you are as excited about packaging as we are! I challenge you to look at your current packaging line. Is there anything you’d like to change to help express your brand better, improve margins, or even simply looking to spice it up for a particular time of the year? If so, don’t hesitate to schedule a free packaging audit with one of our specialists today.

